Welcome to Canva 101!
Just Kidding!
There are plenty of tutorials online on that stuff!
I’m here to simply tell you that you’ve been missing out if you don’t know about Canva, a free web-based graphic design tool that allows users to create beautiful designs.
I accidentally discovered this design tool about a year ago, while I was trying to figure out Photoshop. Once I got in, there was absolutely no looking back.
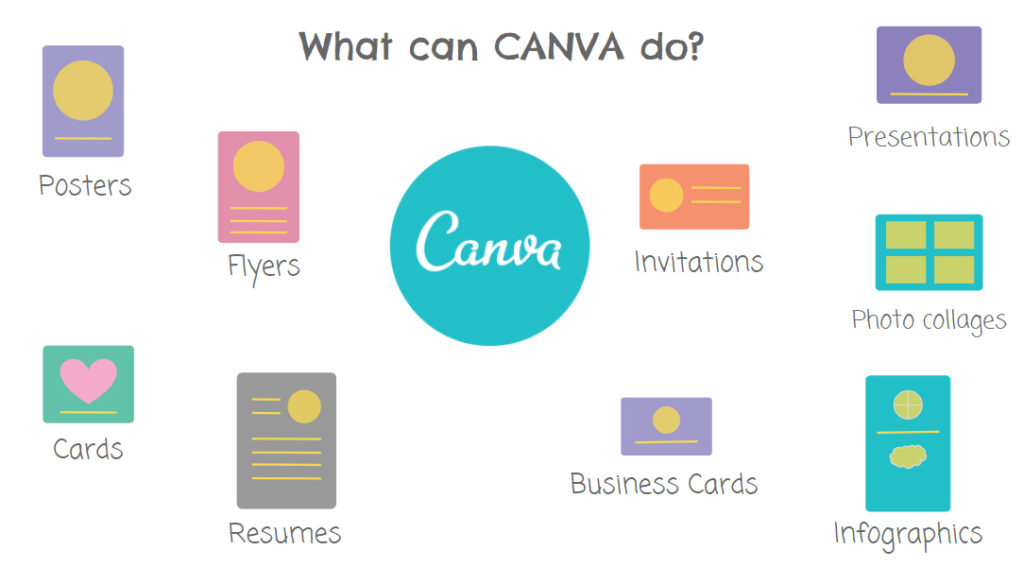
Canva is a simple tool that lets you quickly build Instagram posts, flyers, slideshows, invitations, posters, Facebook Covers, cards, photo collages, documents, blog graphics, and so much more. With its many customizable professionally-designed layouts, all in one platform, it was just what I was looking for.
How to start using Canva? Just go to canva.com and Sign Up! The website then prompts you to select what it is that you do, so that they can tailor the experience to you! You can then select what you want to design. And then just follow instructions, or your gut, as you go!
The user interface is so intuitive that you may not even need to finish reading this blog to start designing. You, my friend, are going to be a pro at it within minutes!
If for some reason you do decide to read on, please allow me to amuse you with a few samples that I’ve designed on Canva, and the painstaking(NOT!) process to achieving design perfection (well, sort of).
1. Want to step up your Instagram profile? Use Canva to make it FANCY!
Firstly, if you haven’t signed up already, do it now! Once you’re in, you will have a range of design categories to select from.
For the first sample I have selected Instagram post from Popular design types or Social Media Posts, like so..
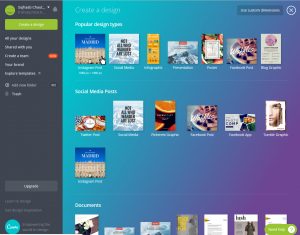
It is the first selection (left hand top) on the Canva dashboard. Click on it and you’re transported to your new insta project on a new tab, in the same window. Notice how the actual size is shown when you hover over the different types of posts/designs. With so many social media platforms to choose from, Canva gives us the measurements needed for each type of post.
Each design project opens in a new tab. In your instagram post design project, you will notice that there are 6 tabs on the left. Each one is packed with wonderful surprises. By default, the Layouts tab is selected, and it displays a range of professionally designed templates. Don’t fret, as there are lots of designs that are completely ‘FREE’. Above the layouts tab is a search feature which can take you through Canva’s library of photos and illustrations. Click on the Elements tab and you’ll see the different types of elements you can incorporate in your design. There’s Free Photos, Grids, Frames, Shapes, Lines…. etc. You should really take your time and explore through the collection of graphic elements.
Then there are separate tabs for Text, Background and Uploads. The Uploads feature is what truly helps you customize your designs and make them your own. Just drag and drop your photos or logo on to this tab to upload them. Once uploaded, these images and designs will stay in Canva for your personal use.
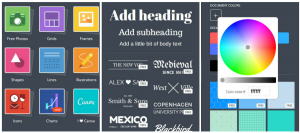
Simply drag and drop different elements, or click on them to start building a design on the right. The images, illustrations and graphics can be resized to fit your vision.
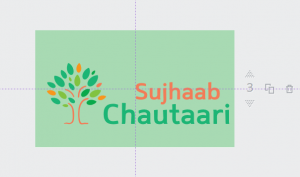
While placing an element on your design, you can drag and follow the placement indicators that help you check its alignment. If you want to ensure that the selected element is in the center of the design, click and drag it to readjust the placement till you see the desired results. When the element is at the very center of the canvas, the placement indicators will intersect as in the image below.
You can either start from scratch on your blank canvas or select a Layout that you like and add your own photos design and logo to it.
I have prepared two samples of instagram posts, both of them have been modified from available professionally-built templates and customized with free images from pixabay.com.


Canva has a lot of free customizable templates suitable for product promotion and online businesses. They also release new templates for season’s greetings and other special holidays. From New Year’s to Diwali Greetings, Canva has got you covered!
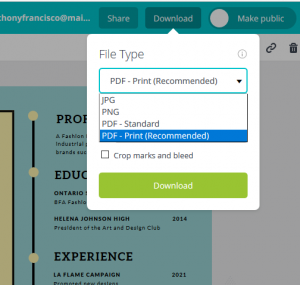
You can choose to download your designs in .jpg, .png, and .pdf formats. And while your designs are being processed to download, a small progress bar with a nugget of wisdom will pop-up to occupy your time (see below). Quite charming, isn’t it?
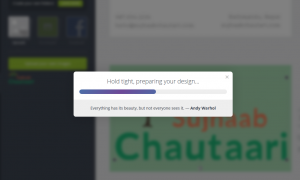
There you have it! All the essentials to creating a beautiful online presence.
2. Create your own business cards!
The selection of 100s of business card designs in Canva Layouts will make you want to get yours updated now.
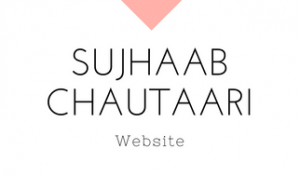
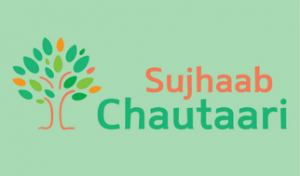
Here are a few samples that we prepared in less than 2 minutes. It’s so simple and easy to do, but some of us will have a tough time deciding which one to go with. They are all so well done. Get yours now!


3. Standout in the crowd with a beautifully designed resume!
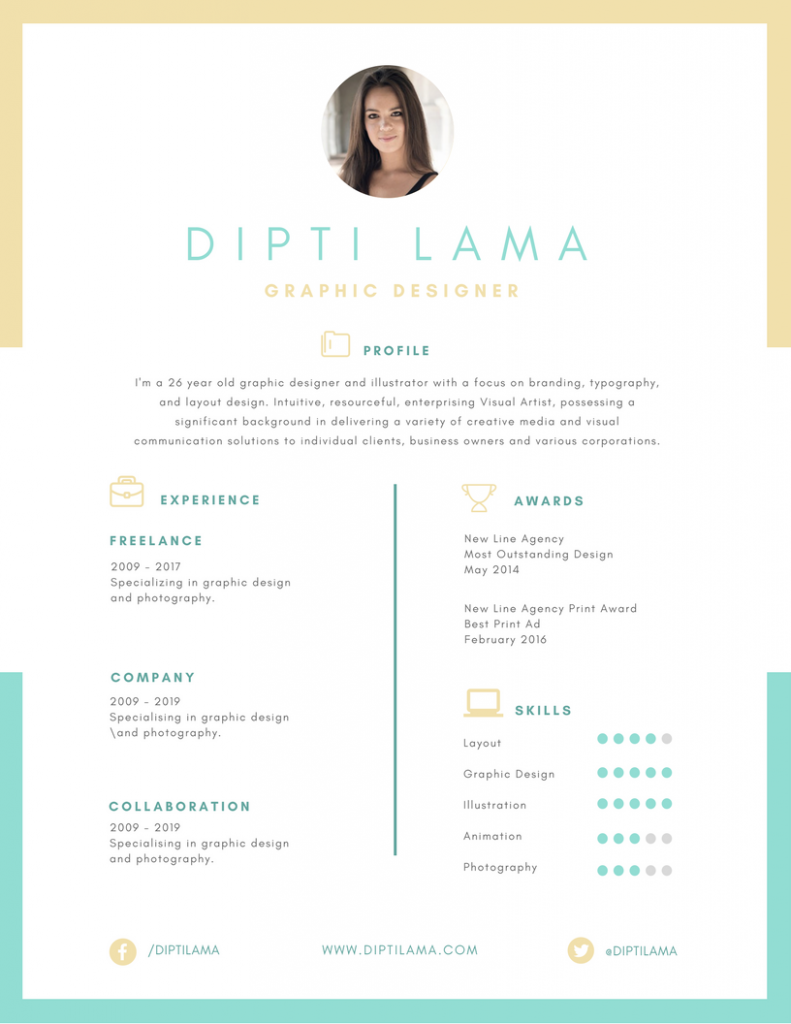
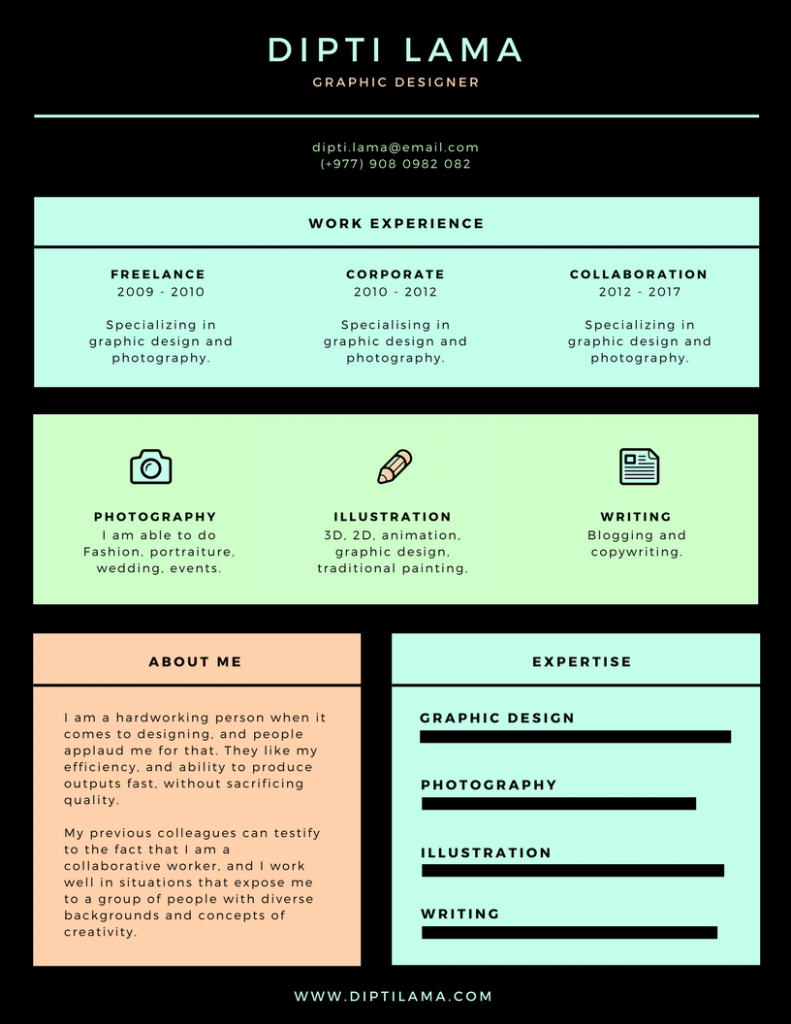
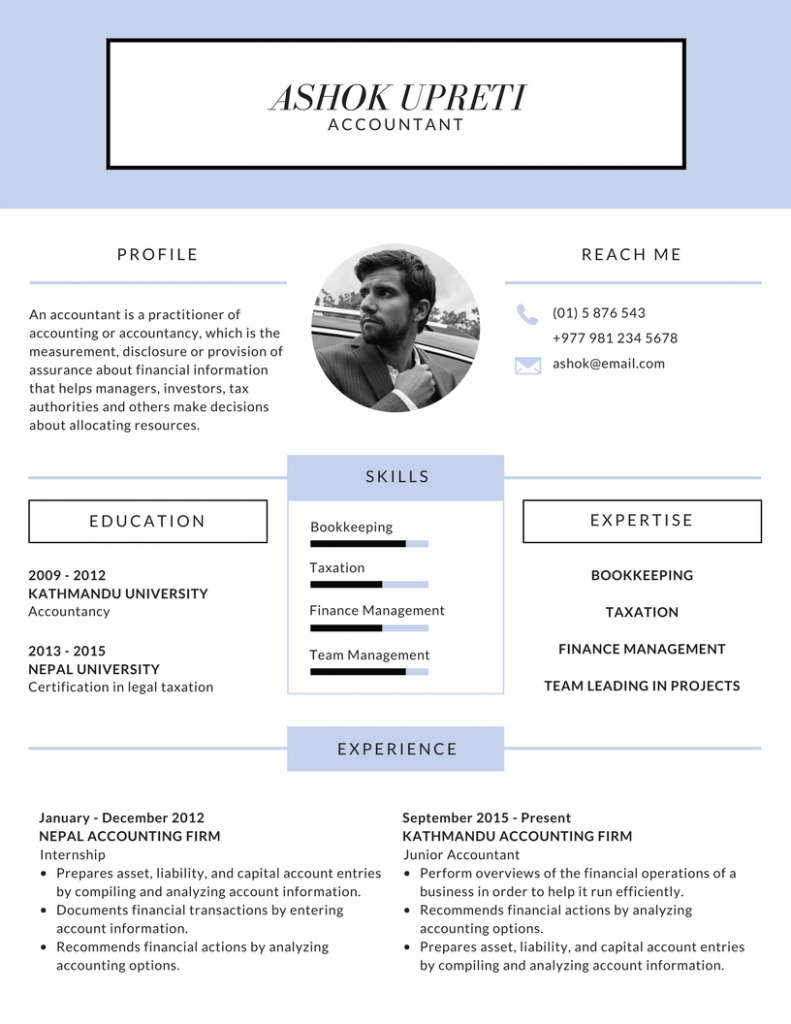
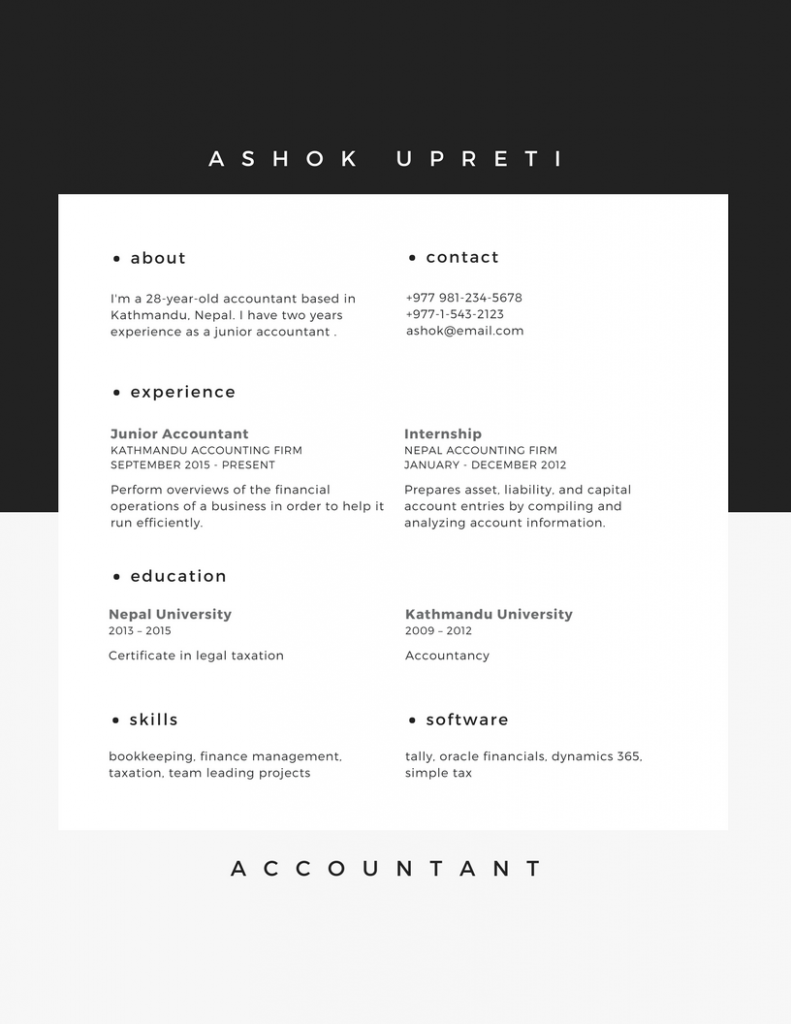
Applying for any job requires a strong resume. But who says it can’t be beautiful at the same time? With templates that are visually appealing and informative, the Resume Layouts in Canva will boost your competitive advantage. You can opt for colorful profile with a profile photo, or a clean design. Your Canva designed resume will definitely catch the eye of recruiters.
Here are a few examples of Resume Layouts template:
I have to admit that Canva isn’t a replacement for professional level tools like Illustrator or Photoshop, but it is a cheat shop for those of us who don’t design full-time. Do pardon me if I’ve missed out on any of the other cool features.
What’s better than using Canva as a design tool on your computer? — Designing on your iPad or iPhone! Canva’s free iOS app is available on Apple Store, bringing your new-found designing-superpower to the palm of your hands. Happy Designing! and don’t be shy to show off your new skills. Please do share them with us if you like.
Author: Trishala Hirachan
Trishala works as a communications officer, and manages the website and social media content for Open Learning Exchange (OLE) Nepal (www.olenepal.org).
Leave a Reply